Create a VPC using the Amazon VPC Wizard
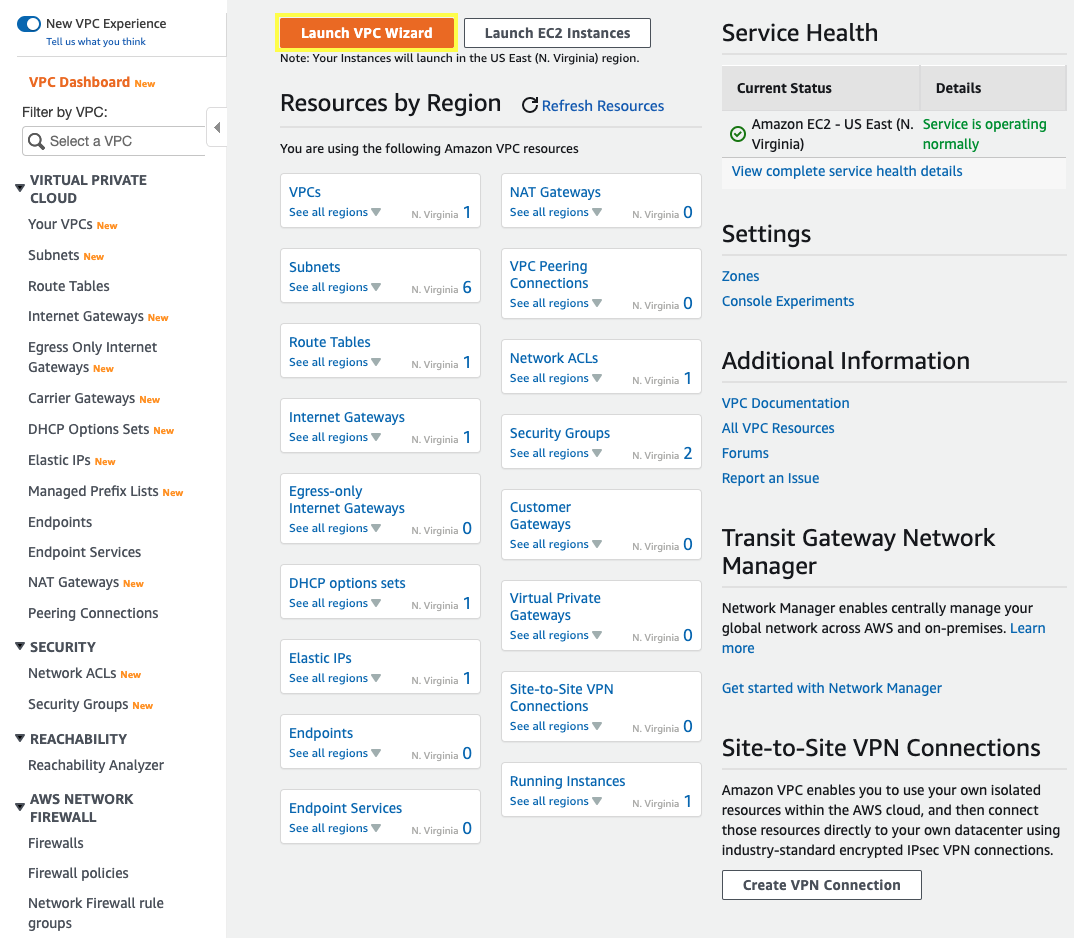
1.2.1. Open the Amazon VPC console at https://console.aws.amazon.com/vpc/.
1.2.2. From the VPC Dashboard choose Launch VPC Wizard.
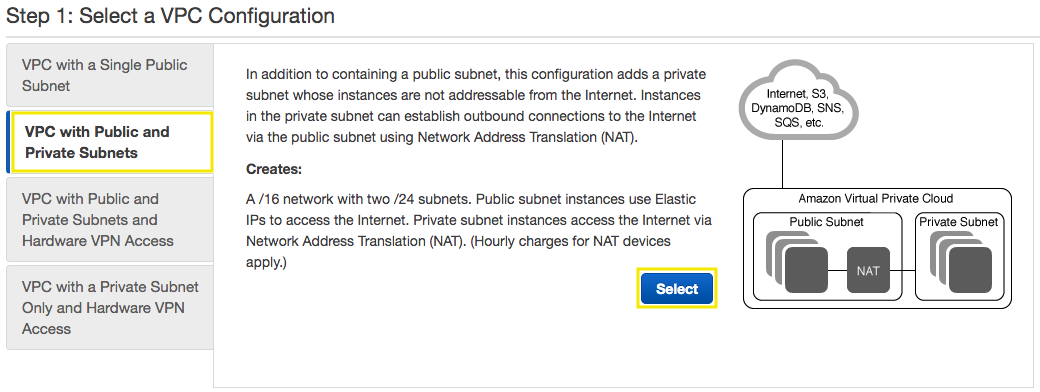
1.2.3. Choose the second option, VPC with Public and Private Subnets, and then choose Select.
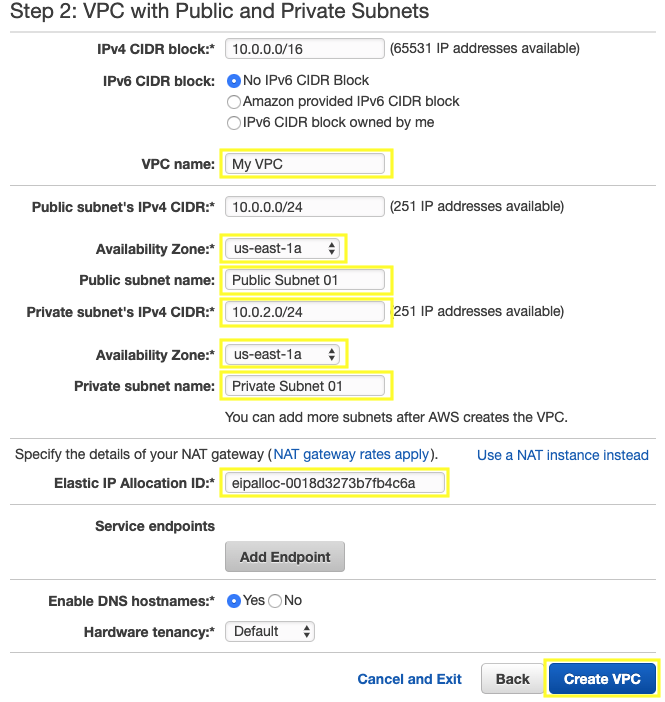
1.2.4. On the configuration page, enter the following information and choose Create VPC.
- IPv4 CIDR block:
10.0.0.0/16 - VPC name:
My VPC - Public subnet’s IPv4 CIDR:
10.0.0.0/24 - Availability Zone:
us-east-1a - Public subnet name:
Public Subnet 01 - Private subnet’s IPv4 CIDR:
10.0.2.0/24 - Availability Zone:
us-east-1a - Private subnet name:
Private Subnet 01 - Elastic IP Allocation ID: Select your Allocation ID previously created
eipalloc-XXXXXXXXXXXXXX - Enable DNS hostnames:
Yes
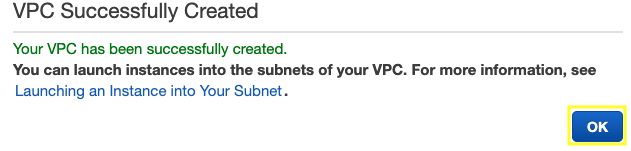
1.2.5. A status window shows the work in progress, when the wizard is finished, choose OK.
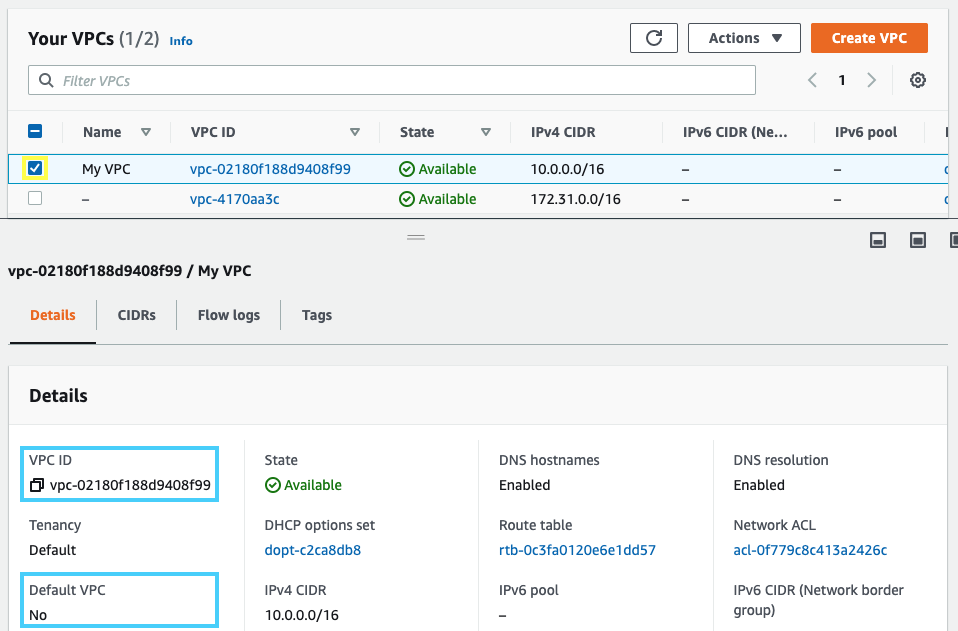
1.2.6. Note that the page displays your VPCs. The VPC that you created is a nondefault VPC, therefore the Default VPC column displays No, copy the VPC ID of My VPC.
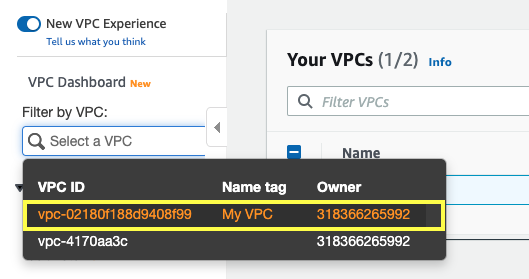
1.2.7. Refresh your web console to update the interface and in the navigation pane, for Filter by VPC: select your VPC to filter all the resources related to your VPC.
1.2.8. In the navigation pane, choose Subnets, you will see two subnets created from your VPC in availability zone a (us-east-1a).
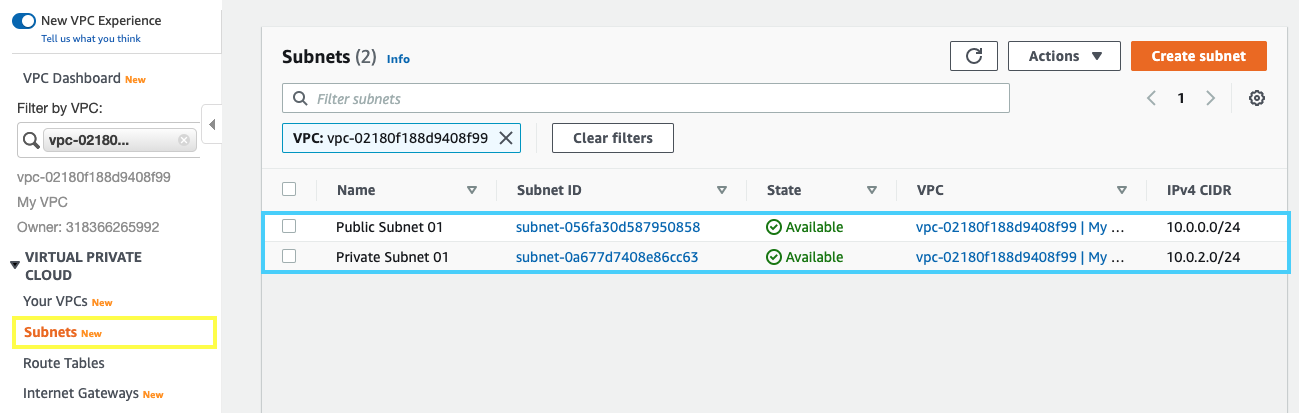
For greater availability, you should create at least one more of each subnet type in a different Availability Zone so that your VPC has both public and private subnets across two Availability Zones.
1.2.9. For the second public subnet, choose Create subnet and enter the following information and choose Create.
- VPC ID:
ID (My VPC) - Subnet name:
Public Subnet 02 - Availability Zone:
us-east-1b - IPv4 CIDR block:
10.0.1.0/24
1.2.10. For the second private subnet, choose Create subnet and enter the following information and choose Create.
- VPC ID:
ID (My VPC) - Subnet name:
Private Subnet 02 - Availability Zone:
us-east-1b - IPv4 CIDR block:
10.0.3.0/24
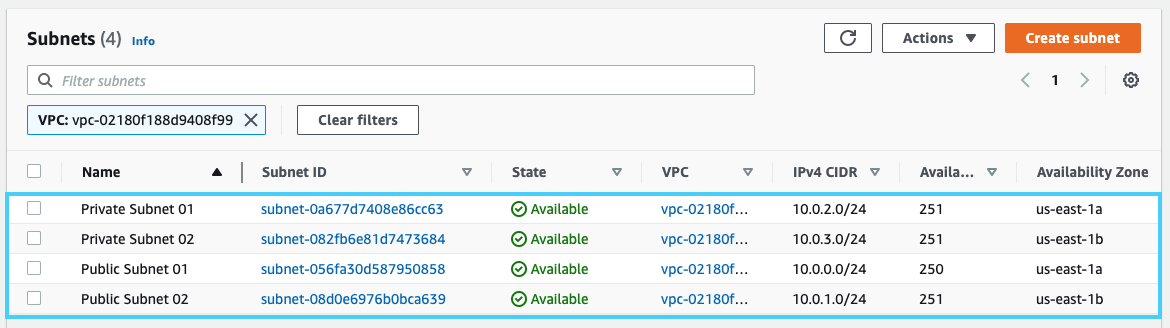
1.2.11. Now you will see the four subnets, two publics and two privates.
1.2.12. In the navigation pane, choose Route Tables, note that one of your route tables for the Main column displays Yes.
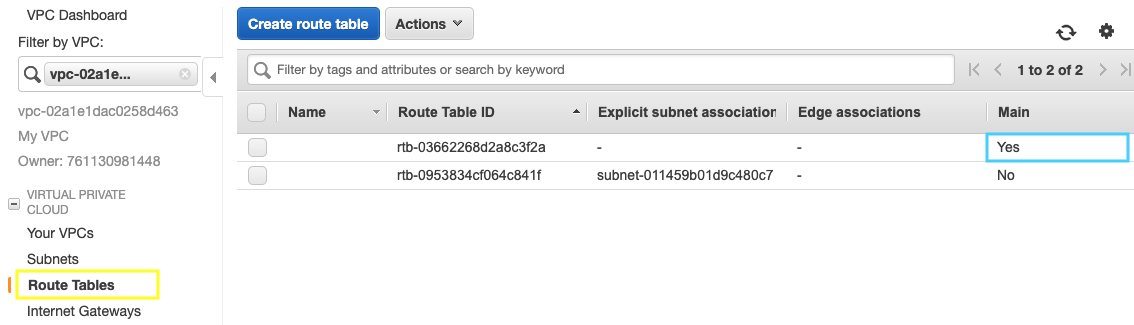
1.2.13. Edit the names, mouse over the column Name and click on the pencil, for the Main route table type Private Route and for the other one type Public Route.

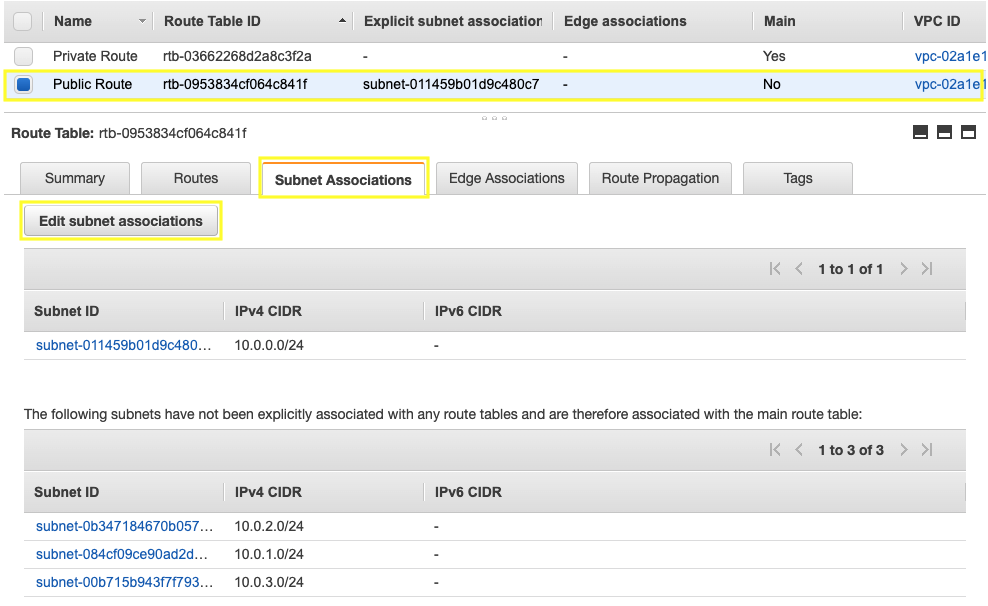
1.2.14. Select your Public Route, click on Subnet Associations and click on Edit subnet associations.
1.2.15. Select the subnets 10.0.0.0/24 (Public Subnet 01) and 10.0.1.0/24 (Public Subnet 02) and click on Save.
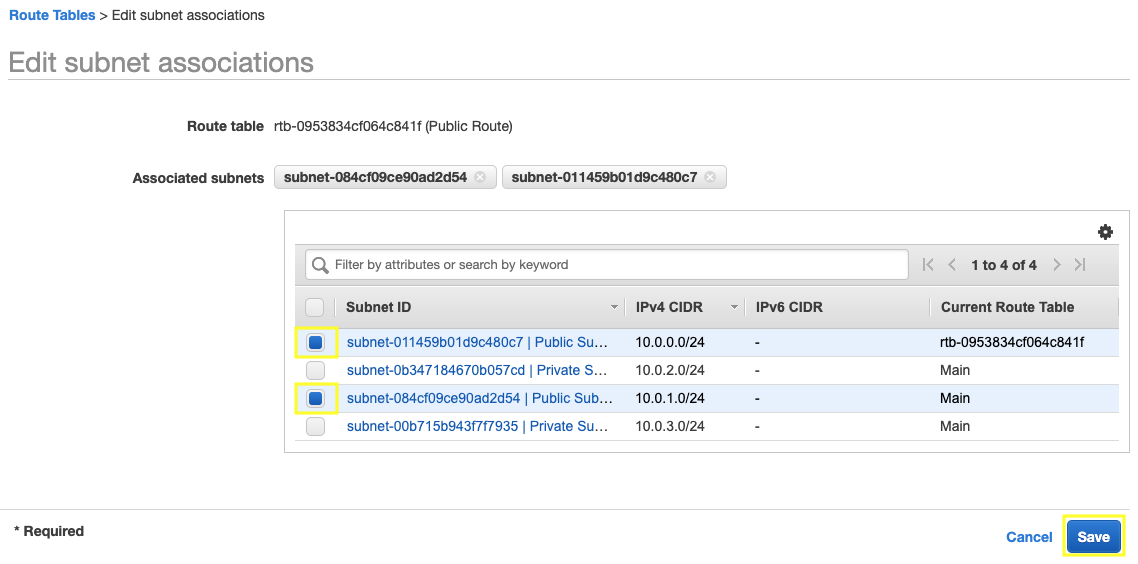
Great Job: You have successfully deployed a VPC network with public and private subnets!!!